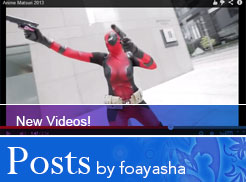
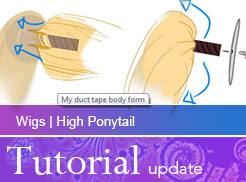
WigsExtend High Ponytail
By Foayasha
Well it has been a little while since I updated with a tutorial of any kind, because let's be honest - I haven't done much lately. By chance though, people really wanted to know how I got that pretty ponytail for Lady Deadpool. While I wish I could write it in a few words, there was a bit more to it than that, so a tutorial was in order. Lucky you, right?

Figure 1: My LadyPool ponytail, very high extended ponytail with a poof!
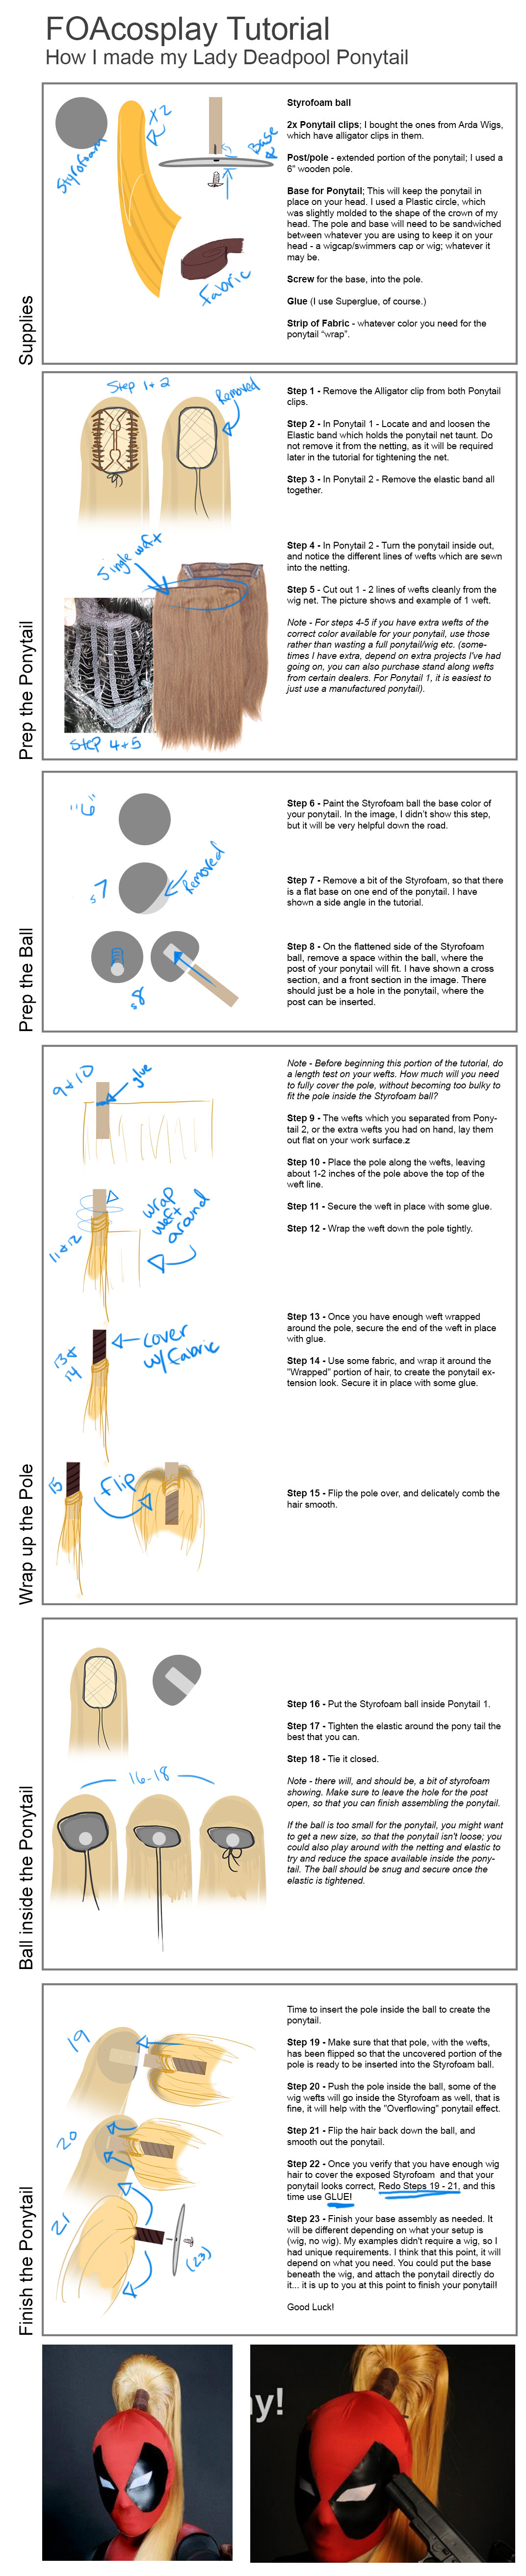
Supplies!

Figure 2: The yellow thing is supposed to be a Ponytail clip xD
- Styrofoam ball - that grey ball in the picture... just pretend it is a ball of Styrofoam, I got mine from Joann's pretty sure.
- 2x Ponytail clips; I bought the ones from Arda Wigs, which have alligator clips in them. From here on out, I will be referring to the main ponytail as Ponytail 1, and the other as Ponytail 2.
- Post/pole - extended portion of the ponytail; I used a 6" wooden pole.
- Base for Ponytail - This will keep the ponytail in place on your head. I used a Plastic circle, which was slightly molded to the shape of the crown of my head. The pole and base will need to be sandwiched between whatever you are using to keep it on your head - a wigcap/swimmers cap or wig; whatever it may be.
- Screw for the base, into the pole.
- Glue (I use Superglue, of course.)
- Strip of Fabric - whatever color you need for the ponytail “wrap”.
Prep the PonyTail

Figure 3: Removing the clip and visual of a single weft.
- Remove the Alligator clip from both Ponytail clips.
- In Ponytail 1 - Locate and loosen the elastic band which holds the ponytail net taunt. Do not remove it from the netting, as it will be required later in the tutorial for tightening the net.
- In Ponytail 2 - Remove the elastic band all together.
- In Ponytail 2 - Turn the ponytail inside out, and notice the different lines of wefts which are sewn into the netting.
- Cut out 1 - 2 lines of wefts cleanly from the wig net. The picture shows and example of 1 weft.
Note: For steps 4-5 if you have extra wefts of the correct color available for your ponytail, use those rather than wasting a full ponytail/wig etc. (sometimes I have extra, depend on extra projects I've had going on, you can also purchase stand along wefts from certain dealers. For Ponytail 1, it is easiest to just use a manufactured ponytail).
Prep the Styrofoam Ball

Figure 4: Trimming down the Styrofoam ball.
- On the flattened side of the Styrofoam ball, remove a space within the ball, where the post of your ponytail will fit. I have shown a cross section, and a front section in the image. There should just be a hole in the ponytail, where the post can be inserted.
- Remove a bit of the Styrofoam, so that there is a flat base on one end of the ponytail. I have shown a side angle in the tutorial.
- Paint the Styrofoam ball the base color of your ponytail. In the image, I didn’t show this step, but it will be very helpful down the road.
Wrap up the Pole

Figure 5: Wrapping the weft along the pole, and then covering it up with some fabric.
Note: Before beginning this portion of the tutorial, do a length test on your wefts. How much will you need to fully cover the pole, without becoming too bulky to fit the pole inside the Styrofoam ball?
- The wefts which you separated from Ponytail 2, or the extra wefts you had on hand, lay them out flat on your work surface.
- Place the pole along the wefts, leaving about 1-2 inches of the pole above the top of the weft line.
- Secure the weft in place with some glue.
- Wrap the weft down the pole tightly.
- Once you have enough weft wrapped around the pole, secure the end of the weft in place with glue.
- Use some fabric, and wrap it around the "Wrapped" portion of hair, to create the ponytail extension look. Secure it in place with some glue.
- Flip the pole over, and delicately comb the hair smooth.
Inserting the Ball inside of the Ponytail

Figure 6: Just place the Styrofoam ball inside of the ponytail and tighten the elastic; then tie it off securely.
- Put the Styrofoam ball inside Ponytail 1.
- Tighten the elastic around the pony tail the best that you can.
- Tie it closed.
Note: there will, and should be, a bit of styrofoam showing. Make sure to leave the hole for the post open, so that you can finish assembling the ponytail. If the ball is too small for the ponytail, you might want to get a new size, so that the ponytail isn't loose; you could also play around with the netting and elastic to try and reduce the space available inside the ponytail. The ball should be snug and secure once the elastic is tightened.
finishing the ponytail

Figure 7: Final Assembly
Time to insert the pole inside the ball to create the ponytail.
- Make sure that that pole, with the wefts, has been flipped so that the uncovered portion of the pole is ready to be inserted into the Styrofoam ball.
- Push the pole inside the ball, some of the wig wefts will go inside the Styrofoam as well, that is fine, it will help with the "Overflowing" ponytail effect.
- Flip the hair back down the ball, and smooth out the ponytail.
- Once you verify that you have enough wig hair to cover the exposed Styrofoam and that your ponytail looks correct, Redo Steps 1-3 in this portion of the tutorial, and this time use GLUE!
- Finish your base assembly as needed. It will be different depending on what your setup is (wig, no wig). My examples didn't require a wig, so I had unique requirements. I think that this point, it will depend on what you need. You could put the base beneath the wig, and attach the ponytail directly do it... it is up to you at this point to finish your ponytail!
- Oh and I forgot to mention - You of course will need to style the ponytail afterwards - I use GotToBe hairspray, etc...
Thanks everyone, and Good Luck!!
TL;DR - Link for the Lazy :P
-foa